Absolute Sliding Panel
Mid-Stopper / End-Stopper Replacement and Adjustment Instructions
The mid-stop on your Absolute Sliding Panel is installed on the second to last panel instead of the back panel. The Absolute Sliding Panel system is built with a window cleaning function, which includes a clip and a magnet on the last panel and end cap. This allows the last panel to slide towards the center of the track, revealing the windowpane for cleaning. The mid-stopper can be adjusted or moved to capture the last panel by following the instructions below.
1. Uninstall the panels from the track and lay flat, safely store out of the way. Then uninstall the track from the wall.
2. Unscrew the end cap and set aside.
3. Remove the back two gliders and set aside – make sure to keep them in order as the were removed. The back glider does NOT have an L-Stop installed.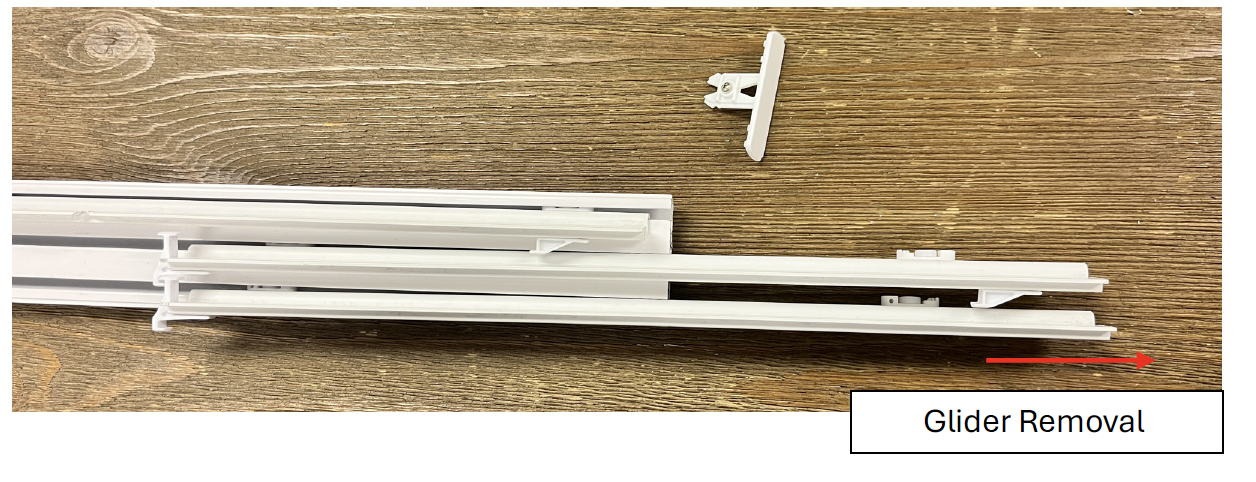
4. Locate the Mid-Stopper in the track and remove using a 1.5mm Allen Key.

5. Slide Mid-Stopper into the last (or back) channel of the track. Reinstall the gliders to the track and replace the end cap.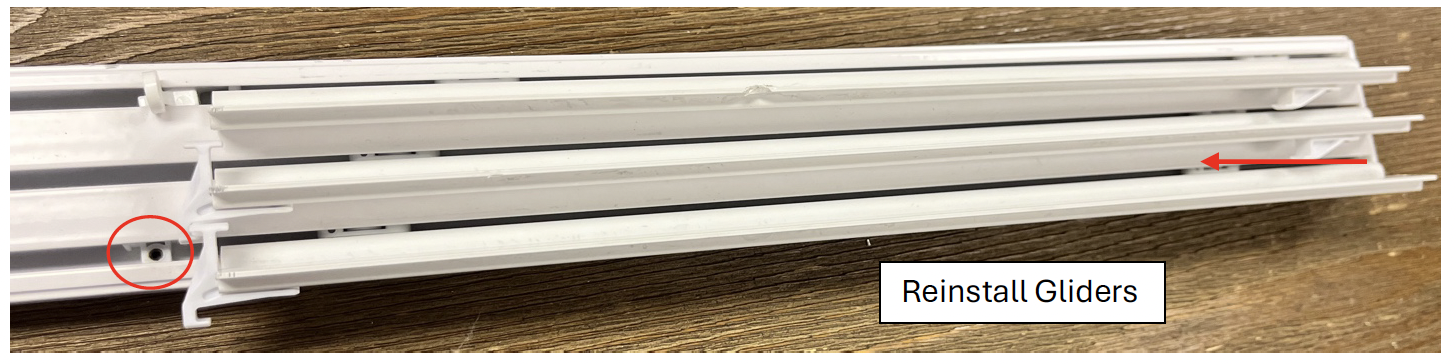
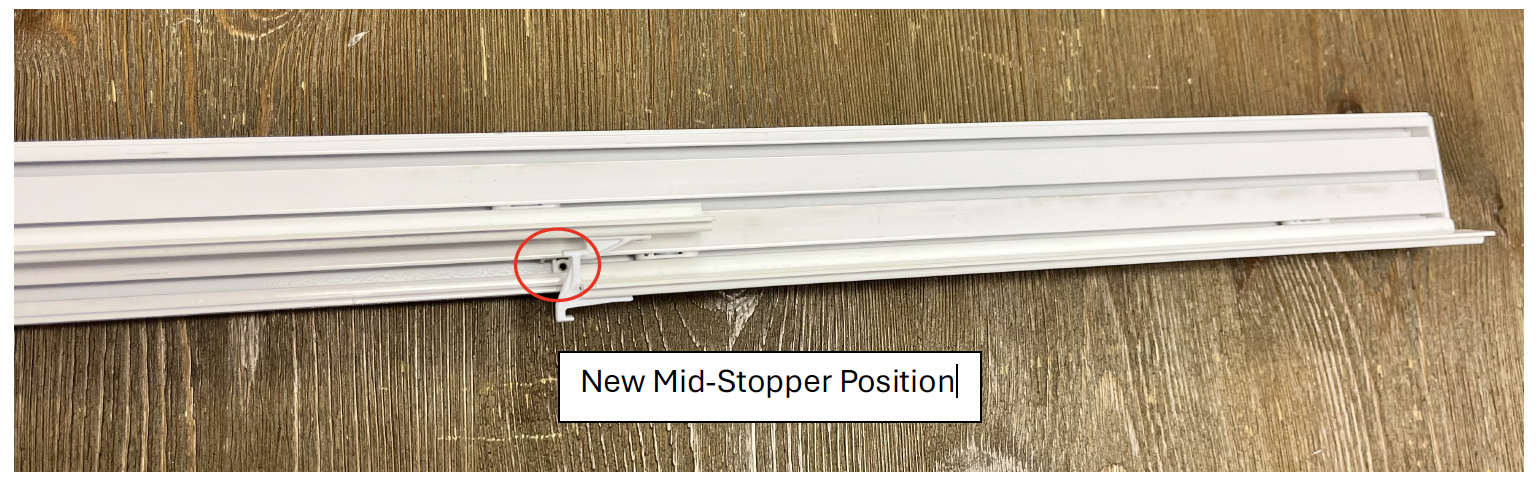
6. Run all the gliders to their “Closed” position, making sure the last carrier stays tight to the end cap. Then, slide the Mid-Stop tight to the end of the carrier, and tighten the set screw down. This ensures the back panel will not move, but all other panels will catch appropriately.
Last Updated: 1.03.25
Was this article helpful?
That’s Great!
Thank you for your feedback
Sorry! We couldn't be helpful
Thank you for your feedback
Feedback sent
We appreciate your effort and will try to fix the article