Roller Shade Troubleshooting - Changing Out a Motorize Shade Motor
Tools Required: Phillip’s Head Screwdriver
Follow these directions to install or replace the motor on your shade if directed to do so by customer service.
For more informations on set screws, click here.
1. Use the charging unit to confirm the new motor battery is fully charged.
2. Take shade out of installation brackets.
Note: If the motor does not slide out of the tube easily, then a set screw is most likely present.
3. Unwind the shade until you can see the set screw in the tube. [Figure 1]
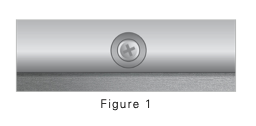
4. Remove the set screw, and discard it.
Note: The set screw is needed to keep the motor properly positioned during international shipping; no need to re-install it.
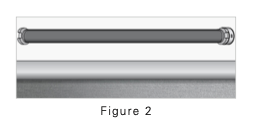
5. Slide out the motor. [Figure 2]
Note: Motors come in different colors.
6. Slide the new motor in almost all the way. [Figure 3]

7. Twist the motor to make sure the head is correctly positioned so that the re-charging port, setting button and remote antenna wire face down when the shade is installed, then push it firmly in place. [Figure 4]

8. Roll the shade back up and re-install it.
Was this article helpful?
That’s Great!
Thank you for your feedback
Sorry! We couldn't be helpful
Thank you for your feedback
Feedback sent
We appreciate your effort and will try to fix the article